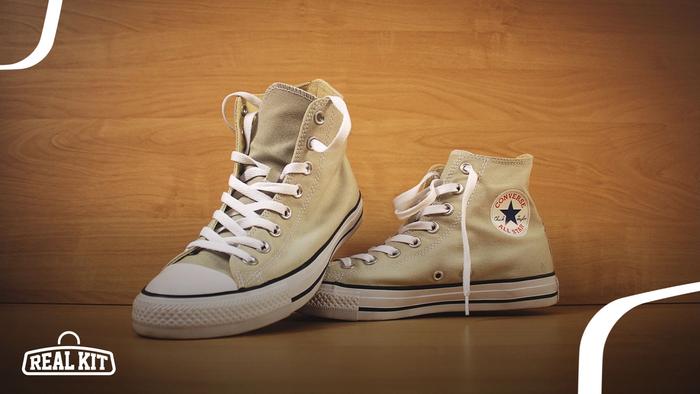
How To Lace Converse: A Step By Step Guide

Converse shoes are always handy to have in your sneaker collection, but if you’re unboxing a new pair for the first time, the chances are you’re probably wondering how to lace them.
Fortunately, we’ve put together a step-by-step guide to talk you through, in our opinion, the best technique to achieve a great look and a secure fit.
We also discuss a few alternative lacing methods to ensure you find a style to suit your taste, which is crucial as temperatures rise, and Converse shoes come into their own as some of the .
So grab a pair of your Chuck Taylor All-Star‘s and follow along with our guide right here.
How To Lace Converse
As mentioned above, the following technique is what we believe to be one of the most effective methods of lacing up a pair of Converse trainers, which were originally considered some of the around.
Not only is it the method used to lace the Converse shoes advertised on the brand’s website, but it is also one of the simplest methods to follow.
With that said, let’s dive straight into it…
Step 1: Thread one end of your shoelace through the first eyelet on the left-hand side and pull through about halfway.
Step 2: Do the same with the other end of your shoelace, then pull both ends until there is a flat bar between the first two eyelets.
Step 3: Take the left lace and feed it through the second eyelet up on the right side of your sneaker. Thread through the top and pull the shoelace right through.
Step 4: Take the right lace and cross over the top of the left lace and feed through the second eyelet up on the left-hand side.
Step 5: Repeat this process until you reach the final row of eyelets.
Step 6: At this point, you can either feed the two aglets over the top and tuck the two ends into your shoes. Alternatively, thread the ends underneath and tie the two together over the top of your shoes.
Top Tip: This method will also work with high-tops, like these Chuck 70 Highs, you’ll just need to repeat steps 3 and 4 a few more times until you reach the top of the collar.
Step 7: Repeat the whole process with your second Converse sneaker so you have a complete pair.
What Type Of Laces Do You Need For Converse Shoes?
Using Chuck Taylor All-Star low-tops as an example, we’d recommend picking up 45″ to 47″ shoelaces to reach the sixth eyelets comfortably, with enough room left over to tie the two ends together.
For high-tops though, we’d recommend 50″ shoelaces.
By standard, Converse sneakers come with white flat laces, so we’d recommend going with this style if you’re looking to achieve the usual Converse aesthetic.
However, you can pick up alternative flat laces, like these Booyckiy laces, in a range of different colours including black, yellow, and red for a more unique look.
Alternative Ways Of Lacing Converse
Although our step-by-step guide details one of the most common techniques, there are several alternative ways of lacing Converse sneakers to suit a range of different styles.
Diamond Laces
Also known as the criss-cross method, this technique is a great way to ensure a secure lock-in and fit.
To start this technique, feed the two ends underneath the first row of eyelets.
You then want to feed the left-hand lace through the third eyelet up on the right side of your shoe, then do the opposite with the right-hand lace.
Next, take the left end, and feed it under the second eyelet on the left, repeat on the right side, then continue this alternating pattern until you reach the top.
Straight Bars
The straight bar technique is one we’ve covered in detail in our , , and Fortunately, this method is another pretty simple one.
Start in the same way as our first technique by creating a straight bar across the first eyelets.
Next, take the left aglet and feed it through the third eyelet up on the right from underneath, then thread it through the opposite eyelet over the top to create a bar across the tongue.
Do the same with the right aglet, but instead of the third row of eyelets, feed your shoelace through the second row, leaving three neat rows of white bars.
Repeat these steps until you reach the top of your shoe and do the same with your second sneaker so you’re ready to put on a complete pair.
Read More:

